Replacing or installing an aluminum window is not just about screwing a frame into a masonry opening. The success of an installation depends on three control points: the actual condition of the support, the thermal bridge break at the profile level, and the adjustment of hardware after fixing. These steps determine both compliance with DTU 36.5 and long-term thermal performance.
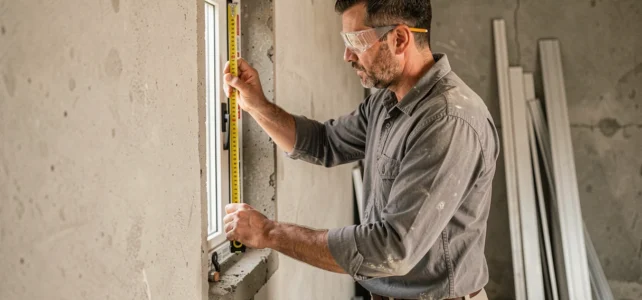
Diagnosis of the masonry opening before any fixing
The majority of installation defects originate from a poorly prepared support. Before presenting the carpentry, the opening must undergo a methodical examination that goes beyond a simple brush-off.
Related reading : The rules to know for properly writing an address on an envelope for Mr. and Mrs.
Recent technical guides emphasize checking for disorders in the opening: signs of moisture, cracks, residues from old silicone joints or poorly stripped polyurethane foam. Each of these defects compromises the adhesion of future sealing products and can create invisible infiltrations for several months.
A cracked opening must be repaired with mortar and left to dry completely before any intervention. A damp opening requires investigating the cause (rising damp, gutter defects, condensation) rather than applying a sealant that will eventually peel off. Mastering the installation of an aluminum window begins with this diagnostic phase, often rushed on site due to time constraints.
Further reading : How to Successfully Register as an Adult on Meeting Job and Boost Your Career
- Check the flatness of the threshold and side openings with a mason’s rule, noting any discrepancies greater than a few millimeters
- Scrape off residues of expanding foam and old sealant down to the sound support, without leaving any friable intermediate layer
- Verify the absence of moisture rising on the lower part of the opening, the area most exposed to pathologies
Thermal bridges on aluminum profiles: what DTU 36.5 really requires
Aluminum conducts heat much better than wood or PVC. Without appropriate treatment, the frame becomes a linear thermal bridge that negates part of the benefits provided by double or triple glazing.
The thermal bridge break relies on insulating bars integrated into the profile. These bars, typically made of reinforced polyamide, separate the interior face from the exterior face of the frame. Their presence is a prerequisite for achieving the thermal performance required by current regulations.
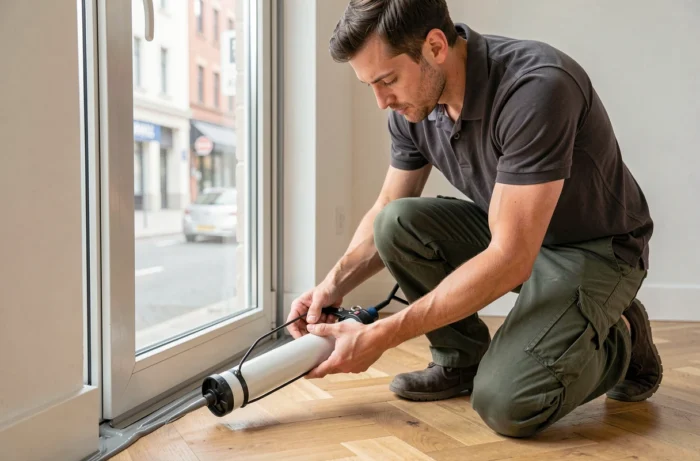
DTU 36.5 governs the connection between the carpentry and the structural work. It specifically requires that the sealing ensures both air tightness on the interior side and water tightness on the exterior side, using compatible materials. Using the same sealant on both sides is a common mistake: the interior joint must be airtight while the exterior joint must remain vapor-permeable.
In tunnel installation (carpentry inserted into the wall thickness), the anchoring tolerances are precise. The distribution of fixings limits the spacing between anchoring points and imposes minimum distances at corners and locking points. Neglecting these distances leads to frame deformations due to thermal expansion, which is more pronounced in aluminum than in other materials.
Shimming and peripheral play
The play between the frame and the opening is not an aesthetic detail. It absorbs the thermal expansion movements of the aluminum profile and allows for the correct implementation of sealing. Too little play prevents the installation of the joint, while too much play reduces sealing performance.
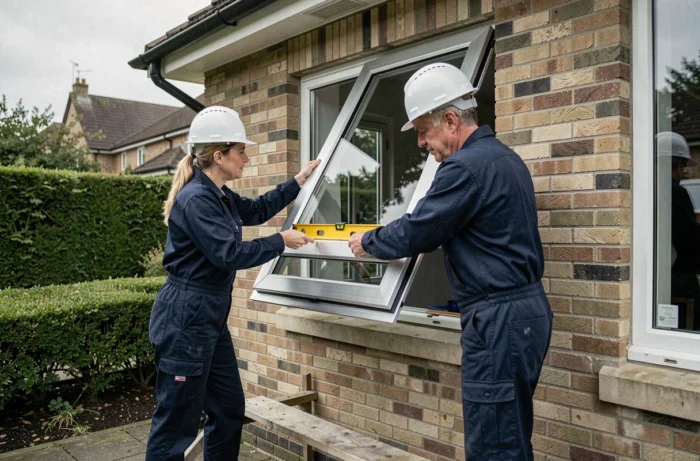
The control of level, plumb, and diagonals is done before any final fixing. The frame is held by shims made of rot-proof material, positioned at the prescribed support points. A gap of a few millimeters on the diagonal is enough to prevent the proper closing of the opening.
Final adjustment of hardware after fixing the frame
Fixing the frame does not conclude the installation. The final adjustment is a distinct step, documented in the manufacturers’ technical sheets but rarely detailed in public tutorials.
This adjustment involves three distinct checks:
- The opening and closing of each sash, which must occur without forcing or rubbing against the frame
- The locking of closure points (lock, rollers), which must compress the strike joint uniformly around the entire perimeter
- The pressure of the opening joints, verifiable by inserting a sheet of paper between the joint and the frame: if the sheet slides freely, the compression is insufficient
A lack of adjustment degrades acoustic and thermal insulation even with high-performance glazing and a thermal break frame. Field feedback shows that this point is the primary cause of complaints after installation, ahead of water tightness issues.
Hardware compensation and wear over time
The hardware of an aluminum window generally allows for height, lateral, and compression adjustments. These adjustments are made with an Allen key or screwdriver, depending on the manufacturers. Planning an annual check during the first few years prevents small progressive misalignments from causing premature wear of the joints.
On large aluminum sliding doors, adjusting the rollers also conditions the smoothness of the sliding. A roller that is too low creates friction on the rail, while a roller that is too high allows air to pass under the opening.
Renovation installation on an old frame: when this option is viable
Keeping the old wooden or aluminum frame reduces the scope of the project and the cost. This method works under one condition: the existing frame must be perfectly bonded to the masonry, with no play, no rot, and no deformation.
Renovation installation slightly reduces the glazed area since the new frame is fixed inside the old one. On a standard-sized window, the loss of daylight remains modest. On a small bathroom window, it can become noticeable.
Field feedback varies on the durability of this method compared to a total removal. Some installers report infiltrations after a few years when the old frame conceals a defect that was invisible at the time of installation. Others believe that renovation on a sound structure offers comparable longevity, provided that the peripheral sealing is treated with the same care as in new installation.
The choice between renovation and total removal thus depends less on the material than on the actual condition of the support. An honest diagnosis of the existing frame is worth more than a construction site saving that will pay off in repairs a few winters later.